For a long time, my team ran on a patchwork of email threads, shared spreadsheets, and a loose honor system that basically amounted to "let me know when it's ready." It worked until it didn't. A half-finished post went live during a product launch. A piece sat in draft for six weeks because it kept getting lost in the handoff between writer and editor. When we finally sat down to map out what our approval workflow actually looked like, we realized it existed mostly in people's heads - it's not a workflow, that's a liability.
So I rebuilt it from the ground up using WordPress's native tools, a few well-chosen plugins, and some custom logic to manage the edge cases that always seem to break a clean process. The result is an automated content approval system that routes drafts to the right people, triggers reviews at the right time, blocks premature publishing, and logs every choice without anyone having to chase anyone down.
I'll walk through how I built it - what I used, why I made the choices I did, and what you'd need to adapt it for your own setup. Whether you're running a solo editorial operation or managing a team of a dozen contributors, the structure translates.
Short Summary
I automated my WordPress content approval workflow by combining tools like Zapier or Make (formerly Integromat) with WordPress hooks and custom post statuses. When authors submit content, automated triggers notify editors via Slack or email, route posts through predefined review stages, and publish approved content automatically on schedule. I used plugins like PublishPress for editorial workflows, integrated Google Sheets for tracking, and set up conditional logic to handle revisions or rejections. This eliminated manual follow-ups, reduced approval time significantly, and kept the entire team synchronized without constant back-and-forth communication.
Why Manual Content Approvals Were Quietly Killing My Publishing Schedule
For a long time, my approval process looked functional on the surface. A writer would finish a draft, send it over by email, and then I'd review it, leave comments, and wait for revisions. On paper, that works. In practice, it gives you a slow, invisible drag on everything downstream.
The biggest problem was not any single delay - it was the way small delays stacked on top of each other. A writer submits a draft on Monday. I get to it Thursday. They revise and send back on Friday. By the time an editor does a final pass, the post that was meant to go live that week is now sitting in limbo the following Tuesday. Multiply that across four or five pieces of content per week and the schedule starts to fall apart without any one person doing anything obviously wrong.
Email is especially bad for this. Every revision gives you a new thread, or worse, gets buried inside an existing one - it can become legitimately hard to know which version of a draft is the most recent one. I spent more time than I'd like to admit opening attachments with names like "blog-post-final-v3-REVISED.docx" to figure out what changed and what did not.
Spreadsheets were not much better. I used one to track content status for a while - columns for the writer, the topic, the deadline, the stage of review - it felt organized. But spreadsheets don't update themselves, and keeping one accurate can depend on everyone remembering to update their row. Nobody remembers to update their row.
What this process creates is a human bottleneck at every stage. One person holds the draft until they have time to look at it. Then it moves to the next person, who also holds it until they have time. There is no visibility into where something is stuck or how long it has been sitting there. Setting up an AI content calendar directly inside WordPress is one way to make that visibility automatic rather than manual.
The version uncertainty piece deserves more attention than it usually gets. When approvals happen outside of a main system, it's easy for an editor to review an older draft or for a writer to revise the wrong version. You end up publishing content that's missing updates from a previous round of feedback, and you only find out after the post is live.
There is also a quieter cost that's harder to measure: the mental load of tracking it all manually. Every piece of in-progress content can become something to mentally keep tabs on. That is attention pulled away from the work of editing and planning. Tools that handle readability and editorial checks automatically can reduce some of that cognitive overhead.
If you are still running approvals through email threads and shared documents, it's worth asking how much of your publishing delay comes from the content itself versus the process around it. The honest answer is usually uncomfortable. It may also be worth looking at how to automatically update old blog posts so that bottlenecks in your current workflow aren't compounding problems with aging content at the same time.
The Tools I Chose to Build the Approval Pipeline Inside WordPress
Picking the right tools was the most important choice in this whole project. Get this part wrong and you're left with a tough setup that no one on your team wants to use.
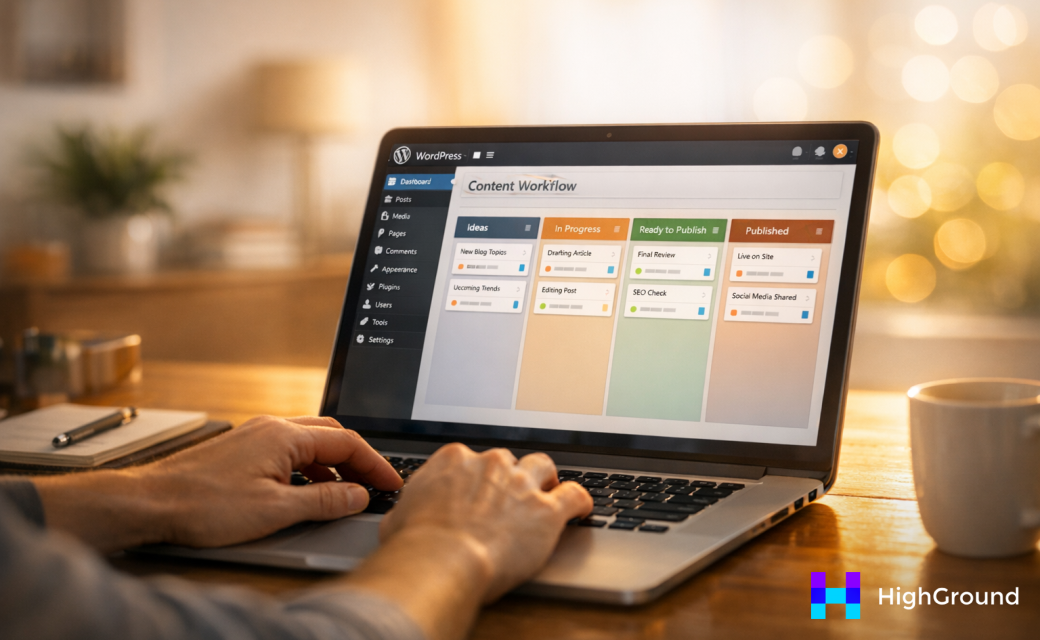
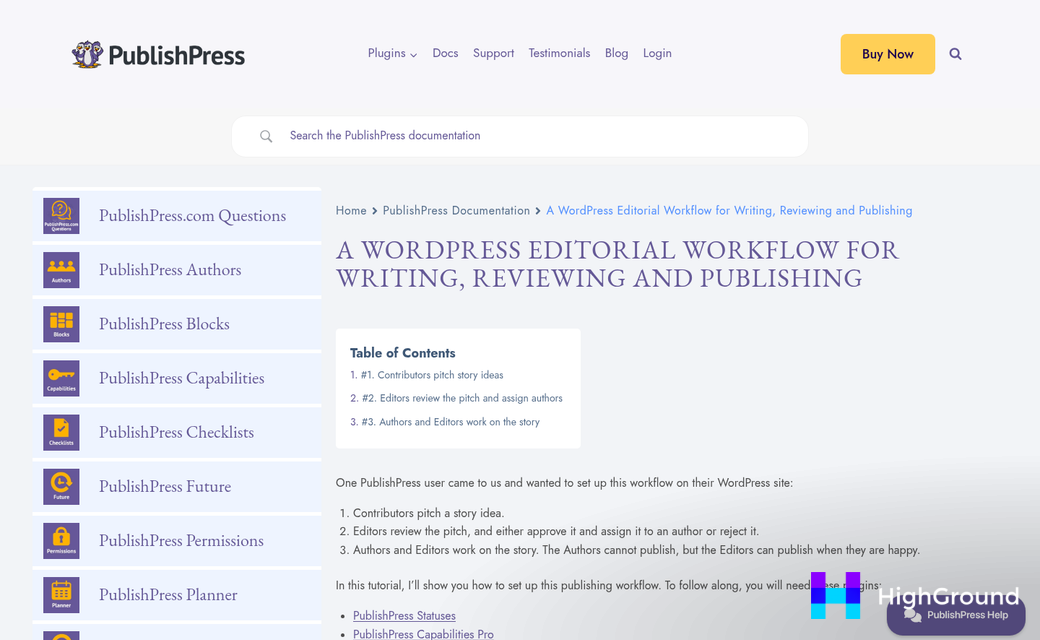
The foundation of the workflow is custom post statuses. WordPress only gives you a handful of default statuses out of the box - draft, pending review, published. That range is too limited for a multi-step approval process. A plugin like PublishPress lets you create statuses like "Ready for Edit" or "Awaiting Final Approval" so every piece of content has a position in the pipeline at any point.
Once you have those statuses in place, you'll have to control who can move content between them; that's where a role manager plugin comes in. WordPress has built-in user roles, but they're not granular enough to manage a structured approval chain. A role manager lets you define what each person on your team can and can't do - an author can submit for review, but only an editor can push something to final approval.
Think about your team size before anything else. A two-person operation doesn't need the same level of hierarchy as a team of ten contributors. Start with the simplest role structure that still supports the process.
Notification plugins are the part teams skip, and that's a mistake. The whole point of an automated workflow is to remove the need to chase people down. A notification plugin watches for status changes and sends an alert to the right person automatically. The main thing to consider is delivery strategy - some teams run entirely on email and others live in Slack, so pick a plugin that supports the channel your team already uses.
An editorial calendar plugin rounds out the stack - it gives you a visual layout of where everything sits in the pipeline and makes it easy to see if content is stalling at a particular stage. This matters more as the number of active contributors goes up, because a simple list view stops being readable pretty fast. If you're looking to take this further, a broader WordPress content pipeline automation guide can help you see how all these pieces fit together at scale.
| Tool Category | What It Handles | Key Consideration |
|---|---|---|
| Custom Post Status | Tracks draft stages | Compatibility with your theme |
| Role Manager | Controls who approves | Team size and hierarchy |
| Notification Plugin | Alerts editors automatically | Email vs. Slack delivery |
| Editorial Calendar | Visualizes pipeline | Number of active contributors |
One thing worth mentioning is theme compatibility, particularly with custom post statuses. Some themes use post status data in ways that can produce unexpected results on the front end, so it's worth testing before you build the full workflow around it.
None of these tools are tough on their own. The power comes from connecting them together, which is what the next section gets into.
Setting Up Automated Triggers, Notifications, and Role Permissions Step by Step
Before you touch a single setting, map your workflow on paper first. Write down every stage a post goes through and who needs to act at each one - that step will save you from having to redo your configuration halfway through.
Once you have that map, you can start building. Here is the order that works.
- Create your custom post statuses. Add each stage as a named status - something like Draft, Ready for Review, Approved, and Needs Revision. Keep the names short and obvious so no one has to guess what they mean.
- Assign roles to each status. Decide which user role can move a post into each stage. A contributor might only push to Ready for Review while an editor handles the move to Approved.
- Set up your notification triggers. Each status change should fire an email or an in-dashboard alert to the right person. When a post hits Ready for Review, the editor gets pinged. When it moves to Approved, the author gets notified.
- Test every transition manually. Log in as a test user for each role and walk through the whole flow before you go live.
The role permissions step is where most setups go wrong. If an editor has full publishing rights by default, they can bypass the approval stages entirely and hit Publish. Strip that permission back so the workflow is the only path to a live post.
Notification loops are the other thing to watch for - this happens when a status change triggers an email that then triggers another action, which fires another notification - and they are easier to create than you might think. Keep each trigger tied to one status change and don't stack multiple automations on the same transition until you have tested each one in isolation.
A simple table helps you track who gets notified at each stage. If you are also automatically assigning authors to posts, make sure those assignments happen before the notification triggers fire so the right person receives the alert.
| Status Change | Who Gets Notified | Notification Type |
|---|---|---|
| Draft → Ready for Review | Editor | Email + dashboard alert |
| Ready for Review → Needs Revision | Author | |
| Ready for Review → Approved | Author + Publisher | Email + dashboard alert |
| Approved → Published | Author |
Build this table for your own team before you configure anything. Even a rough version on paper will show you gaps in your logic before they become problems in production.
Once everything is running, do a full end-to-end test with content. Use accounts for each role and make sure no stage can be skipped and no inbox gets flooded. Your post writing preferences may also affect how drafts enter the workflow, so review those settings before your first live run.
What a Working Approval System Actually Frees You Up to Do
If the full workflow is quite a bit to take on at once, don't. Pick the single stage that causes the most friction - maybe it's the handoff from writer to editor, or the final sign-off before scheduling - and automate just that. Get comfortable with it, see how your team responds, then build from there. A workflow that grows slowly alongside your team will always outperform one that was ambitious on day one and quietly abandoned by week three.
You don't need a perfect system. You need a living one - something flexible enough to adapt as your content operation evolves, your team grows, or your publishing cadence changes. Start small, iterate honestly, and give yourself permission to adjust what isn't working. The goal was never flawless automation - it was a process that serves your team instead of the other way around. If you want to take things further, automating your WordPress blog posts with AI is a natural next step once your approval flow is stable.
FAQs
What plugins are needed for a WordPress approval workflow?
You'll need a custom post status plugin like PublishPress, a role manager plugin, a notification plugin, and an editorial calendar plugin. Together, these tools create a structured pipeline that routes content automatically without relying on manual follow-ups.
Why is email a poor tool for content approvals?
Email creates version confusion, buries threads, and makes it hard to track which draft is current. Small delays stack up across multiple pieces of content, quietly derailing your publishing schedule without any single person being obviously at fault.
How do I prevent editors from bypassing the approval stages?
Strip the default publishing permission from editor roles so the only path to a live post runs through your defined workflow stages. Without this step, editors can skip the approval chain entirely and publish prematurely.
How should I start automating if the full workflow feels overwhelming?
Start by automating the single stage causing the most friction, such as the writer-to-editor handoff. Get comfortable with that one change before expanding, since a workflow built gradually is more likely to stick than an ambitious system abandoned early.
What should I do before configuring any workflow settings?
Map your entire workflow on paper first, listing every stage and who acts at each one. This prevents mid-configuration rework and helps you spot logic gaps before they become problems in a live environment.