


Here's something worth considering: what if dropping a file into a Dropbox folder was all it took to get your post live on WordPress? No logging in, no copy-pasting, no reformatting. Just a file in a folder - and a published post on the other end.
That's not a hypothetical - it's a workflow you can build, and this post will show you how to set it up. I'll talk about how to connect Dropbox and WordPress so your content moves between them automatically, saving you the repetitive manual steps that eat into your time.
Whether you publish once a week or a few times a day, automating this part of your process means one less thing demanding your attention - and room to focus on the writing itself.
Short Summary
To auto-publish blog posts from Dropbox to WordPress, use a service like Zapier or IFTTT to create an automation that triggers when a new file is added to a specific Dropbox folder. Connect it to WordPress to automatically create a new post using the file's content. Alternatively, use a dedicated plugin or tool like Dropbox for WordPress. Write your posts as text or Markdown files, save them to the designated Dropbox folder, and the automation will handle publishing them to your WordPress site without manual intervention.
What Actually Happens When Dropbox Talks to WordPress
The two places don't connect on their own - you need something in the middle to pass information between them. That middleman is either a WordPress plugin or an automation tool like Zapier, which connects over 8,000 apps without any code involved.
The basic flow works like this: you drop a file into a Dropbox folder and the connector detects that change - it then reads the file and creates or updates a post in WordPress on your behalf.
The file format matters here. Most setups use Markdown files, which are plain text files with easy formatting marks like asterisks for bold and hashes for headings. WordPress can read these and translate them into formatted posts. You write in a plain text editor, save to Dropbox and the rest happens automatically.
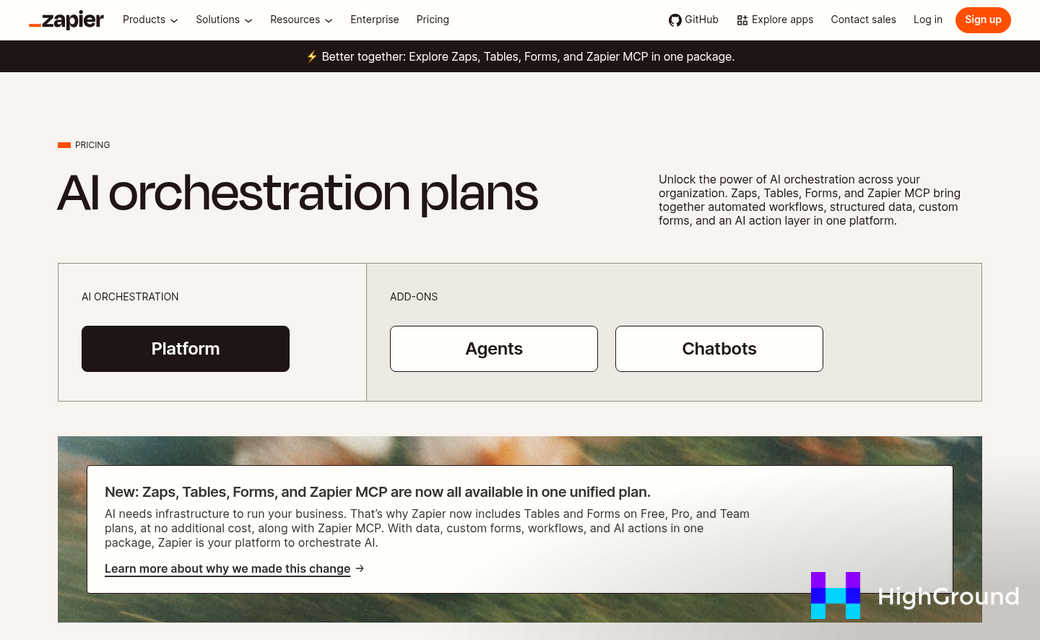
Zapier works by watching your Dropbox folder for new or changed files and then running a sequence of actions in response. You set up this sequence once in Zapier's dashboard and it runs in the background every time you add a file. No code, no server access, nothing technical to manage on a regular basis. If you want to go deeper on this kind of setup, connecting AI tools to WordPress through Zapier or Make follows a very similar pattern.
Plugins take a slightly different strategy. Instead of a third-party tool doing the watching, the plugin lives inside WordPress and pulls from Dropbox. Some plugins check for new files on a schedule and some respond to a manual trigger - but either way, the result is the same.
One thing worth learning about first: the file needs to be in the right place for any of this to work. Both plugins and automation tools look at a folder you specify during setup. If a file lands in the wrong folder or has the wrong format, nothing will happen. That part catches people early on, so it's worth double-checking before your first test.
You don't need to know every step in the chain to get it working. A trigger starts the process, the file content becomes the post body and WordPress handles publishing from there. The next section breaks down the two main routes - plugin or automation tool - so you can figure out which one fits your setup. For a broader look at how these pieces connect, the WordPress content pipeline automation guide is a good reference to have open alongside this one.
Two Ways to Set Up the Dropbox-to-WordPress Connection
There are two helpful paths to check out here. You can use a dedicated WordPress plugin, or you can connect the two through an automation tool like Zapier - and each one fits a different type of user, so it's worth learning about what you're into from the start.
The plugin path means installing something directly on your WordPress site. Out-of-the-Box is the most established option for this - it powers over 10,000 websites and starts at $14.99 per year - it works with the Dropbox connection from inside your WordPress dashboard, so there's no third-party account to manage. Your server does need to run PHP 5.2 or higher and have cURL enabled. But most modern WordPress hosting already meets all of the requirements.
The Zapier path works differently. Instead of living on your WordPress site, Zapier sits in the middle and watches for changes in your Dropbox. When it detects a new file, it triggers an action in WordPress on your behalf. It's a fit if you'd rather not touch your site's backend, or if you're already using Zapier to manage other workflows.
Neither path is harder than the other in absolute terms - it can depend on what you're comfortable with. The plugin strategy keeps everything self-contained. But Zapier can add a layer of flexibility at the cost of an extra subscription. If you're also looking to bulk update internal links across your site, that's worth tackling as a separate step once your content pipeline is in place.
| Factor | WordPress Plugin (Out-of-the-Box) | Zapier |
|---|---|---|
| Cost | From $14.99/year | Free tier available; paid plans from $19.99/month |
| Setup Difficulty | Low - done inside WordPress | Low to medium - requires a separate account and Zap configuration |
| Technical Requirements | PHP 5.2+, cURL enabled | None on your server |
| Best For | Users who want a self-hosted, all-in-one setup | Users who prefer no-code automation or already use Zapier |
The table above covers the differences that matter. The next section walks through the configuration steps for both paths so you can get moving immediately.
Step-by-Step: Configuring Your Chosen Method
Both setups are easy once you know what to connect where. The steps below talk about each path separately, so just skip to the one you chose.
Option 1: Using a WordPress Plugin
Start by installing your chosen Dropbox-to-WordPress plugin from the WordPress plugin directory. Once it's active, go to the plugin settings and connect your Dropbox account by clicking the authorization link - this will open a Dropbox login window.
After you authorize the connection, set the target folder - the Dropbox folder the plugin will watch for new files. Get this right before anything else, because a wrong folder path means nothing will sync.
Finally, map your import preferences. Tell the plugin what to do with incoming files - publish as a draft, post immediately, or drop into the media library. Save your settings and do a quick test by uploading a file to the folder. If you want more control over how posts are written before they go live, it's worth reviewing your post writing preferences inside your dashboard.
Option 2: Building a Zapier Workflow
Log into Zapier and create a new Zap. Set the trigger app to Dropbox and choose "New File in Folder" as the trigger event. Connect your Dropbox account and point it at the shared folder you want to monitor.
Next, set the action app to WordPress. The most helpful action here is "Create Post," which lets Zapier push the file content directly into WordPress as a new entry. Connect your WordPress account using your site URL and login credentials.
Field mapping is where things go wrong. Make sure you match the Dropbox file fields to the right WordPress fields - title to title, body content to post content, and so on. If you skip this step, posts may go through blank or incomplete. For teams using AI to prep content before it hits WordPress, generating post outlines with AI beforehand can make field mapping much cleaner.
Turn the Zap on and run a test. Zapier will pull a recent file from the folder and try to create a post, so you can check if the output looks right before anything goes live. You may also want to set up Zapier's WordPress connection so metadata is handled automatically on each new post. You may also want to auto-configure your SEO plugin so metadata is handled automatically on each new post.
| Common Mistake | What Happens | Fix |
|---|---|---|
| Wrong Dropbox folder selected | Files are not detected | Double-check the folder path in settings |
| Skipping field mapping in Zapier | Posts publish with missing content | Map every field before you activate the Zap |
| Dropbox folder permissions not set | Connection fails or syncs inconsistently | Set the folder to shared with full access |
Keeping the Automation Running Without Breaking Things
Getting the setup working is one thing. Keeping it working is where most teams fall short - not because they are careless, but because automations like to break quietly and slowly.
A few things are worth watching. Dropbox occasionally changes its permission scopes after updates, which can silently cut off access to your connected app. WordPress core updates and plugin version mismatches are another common culprit - a plugin that worked in March may stop firing triggers after an update in June. API tokens also expire, and if no one notices, posts just stop publishing without any obvious error message.
The fix is not tough. Build a habit of running a test post through the pipeline once a month. Drop a plain text file into your Dropbox folder and check that it lands in WordPress as a draft or published post within the expected time frame - this takes about five minutes and will catch most problems before they affect content.
Warning Signs to Watch For
If posts stop appearing in WordPress, the first place to check is your automation log - most tools like Zapier or Make have a run history that shows where a workflow failed. A failed Dropbox authentication step usually means a permission change or an expired token. A failed WordPress step usually points to a credentials problem or a broken webhook URL.
It's helpful to keep a short internal note with the facts of your setup. Write down which Dropbox folder the automation watches, which WordPress account it connects to, and where to find the API credentials. Anyone on your team should be able to open that note and re-authenticate the connection in under ten minutes.
For busy content teams, the post-launch period is when small problems get ignored the longest. The first setup gets attention because it feels like it matters. Maintenance does not feel as fun, so it gets pushed back until something breaks at the worst possible time.
A reliable publishing pipeline does not need non-stop attention - it should have a light, scheduled check-in to catch the small things before they turn into lost posts or missed deadlines. That small investment is what separates a workflow that holds up over time from one that quietly falls apart after a few weeks. If you want more control over how posts are managed after publishing, auto-updating posts can help keep content accurate without manual intervention.
Your Dropbox Folder Is Now Your Editorial Calendar
The system you've set up turns Dropbox into a quiet, reliable bridge between writing and publishing. No more copy-pasting. No more chasing contributors for file attachments. Your workflow just got an upgrade and you built it yourself.
Pick one folder, write one test post, and run it through your new automation. Once you see that first post appear in WordPress without lifting a finger, the rest will follow. The time your team spends on manual uploads is time that could go back into writing - it's a trade worth making.
FAQs
What do I need to connect Dropbox to WordPress?
You need either a WordPress plugin like Out-of-the-Box or a third-party automation tool like Zapier to act as the middleman between Dropbox and WordPress.
What file format should I use for blog posts?
Most setups use Markdown files, which are plain text files with simple formatting marks. WordPress can read these and automatically translate them into properly formatted posts.
Which is cheaper: a plugin or Zapier?
The Out-of-the-Box plugin starts at $14.99 per year, while Zapier's paid plans start at $19.99 per month, making the plugin the more affordable option for most users.
Why are my files not syncing to WordPress?
The most common cause is selecting the wrong Dropbox folder during setup. Double-check your folder path in the plugin or Zapier settings to ensure files are being detected correctly.
How do I keep the automation working long-term?
Run a test post through the pipeline once a month. Drop a file into your Dropbox folder and confirm it appears in WordPress, catching issues like expired tokens or broken connections early.