


That's exactly where n8n comes in. It's an open-source workflow automation tool that connects WordPress with over 400 apps - think Google Sheets, Slack, Airtable, social media platforms, and plenty more. You can self-host it for free, which makes it a legitimately interesting option for developers, content teams, and solo site owners who don't want to hand over a monthly subscription fee just to stop doing repetitive tasks by hand.
In 2026, the combination of n8n's expanding node library and WordPress's API capabilities makes automation more accessible than ever. You don't need to be a developer to build something useful, and you don't need to follow an expensive SaaS platform to get results that actually stick.
This guide will cover everything you'll need to get started: setting up n8n, how it communicates with WordPress, and building workflows that manage content updates, publishing schedules, and cross-platform distribution on your behalf. Whether you're taking care of one site or a few, there's something here worth putting into practice.
Short Summary
To automate WordPress content updates using n8n in 2026, connect n8n to WordPress via its REST API or the built-in WordPress node. Set up workflows triggered by schedules, webhooks, or external data sources. Use HTTP Request nodes to push updated content, modify post metadata, or publish drafts automatically. Integrate with AI nodes to rewrite or refresh existing posts, then use the WordPress node to update them directly. Combine with Google Sheets or RSS feeds to batch-update multiple posts. Store credentials securely in n8n's credential manager and test workflows in staging before deploying to production.
What n8n Actually Does for WordPress Sites
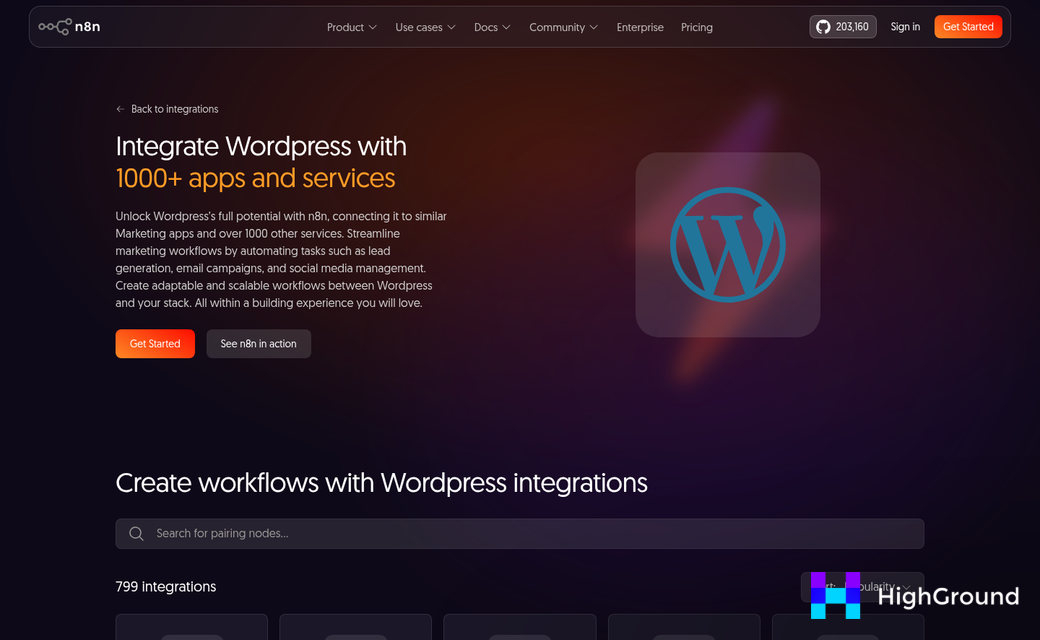
n8n is a workflow automation tool that connects apps and services so they can talk to each other and act on your behalf. For WordPress, that means you can set up automated sequences that create posts, update pages, manage users, and more - without touching the dashboard yourself.
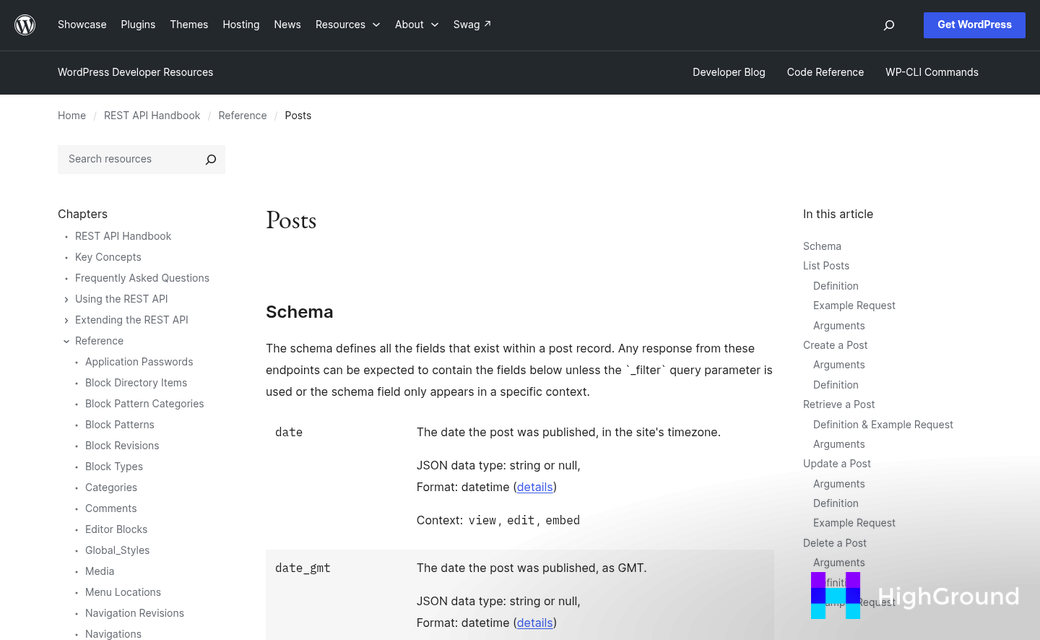
The WordPress integration in n8n includes 12 actions. These cover the three core areas most teams are focused on: posts, pages, and users. You can create, update, get, or delete items in each of these areas, which can add up to a number of tasks you can hand off to automation.
n8n works through two building blocks: triggers and actions. A trigger is the event that starts a workflow - something like a new row added to a Google Sheet or a scheduled time each morning. An action is next, and that's where WordPress comes in. When the trigger fires, n8n can publish a post, update a page, or add a new user account.
n8n connects to over 400 apps, so your WordPress workflows don't have to start or stop with WordPress alone. You might pull content from Google Sheets, send a Slack notification when a post goes live, or log updates to Airtable. That cross-app flexibility is what makes it helpful for content teams instead of just developers.
Consider the tasks your team repeats every week - updating a featured post, syncing a product page, or publishing roundup content on a set schedule. Those are the types of jobs n8n works with well.
For teams running high-volume sites - news, e-commerce, or multi-author blogs - the time savings add up fast. A workflow that would take a person 20 minutes to do manually can run in seconds once it's set up. Because workflows run in the background, your team can stay focused on the work that should have a human touch.
It's also worth knowing that n8n can run in the cloud or on your own server. That matters for teams with strict data or privacy needs. In either case, the WordPress connection works the same.
Before moving into setup, it helps to have one job in mind that you want to automate first. That focus will make the next steps much easier to follow. If you're not sure where to start, see our WordPress content pipeline automation guide for a broader look at what's worth tackling first.
Setting Up n8n and Connecting It to Your WordPress Site
You have two ways to run n8n: self-hosted or cloud. Self-hosted is free and runs on your own server. But the cloud plan is a paid option that n8n manages. The table below breaks down the key differences so you can pick what fits your situation.
| Feature | Self-Hosted | Cloud (n8n.io) |
|---|---|---|
| Cost | Free (server costs apply) | From ~$20/month |
| Setup Time | 30-60 minutes | Under 5 minutes |
| Maintenance | You handle updates | Managed for you |
| Best For | Developers and technical users | Non-technical users or small teams |
In either case, n8n costs a fraction of what tools like Zapier charge, which can run $20 to $100 or more per month depending on your usage. If you are comfortable with a terminal, self-hosted on a VPS is a solid path. If you just want to get started fast, the cloud plan removes friction. For a comparison using Zapier specifically, see how to connect ChatGPT to WordPress using Zapier or Make.
Connecting n8n to WordPress
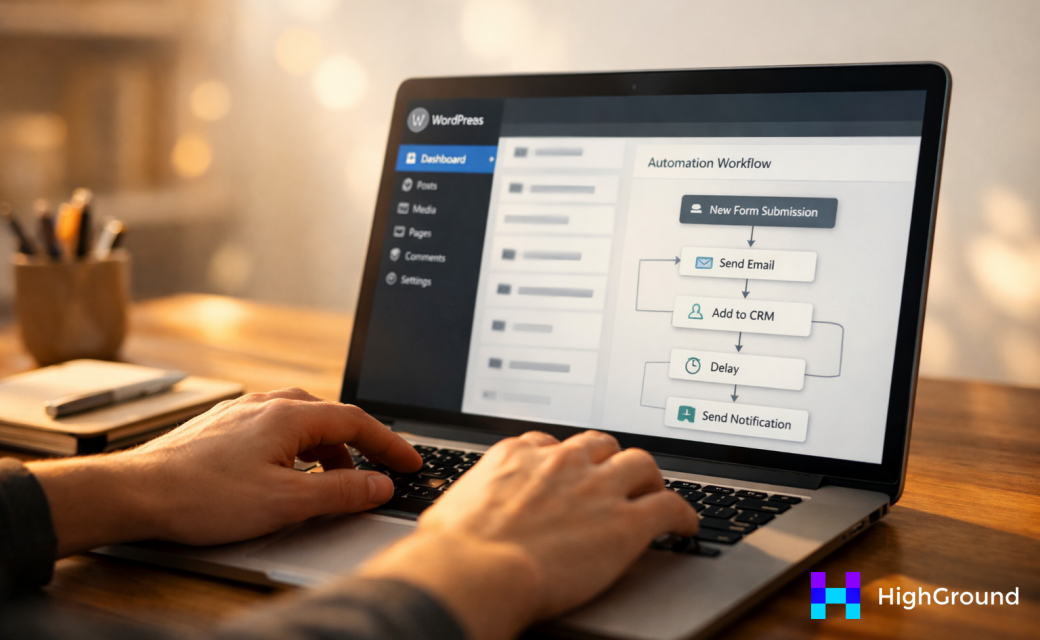
Once n8n is running, connecting it to WordPress takes a few minutes. WordPress has included application passwords since version 5.6, and that's the authentication strategy n8n uses to talk to your site via the REST API.
Here is how to set it up step by step.
- Go to your WordPress dashboard and navigate to Users, then your Profile.
- Scroll down to the Application Passwords section and enter a name like "n8n" to generate a new password.
- Copy that password immediately because WordPress will not show it again.
- In n8n, open the Credentials panel and add a new WordPress credential.
- Enter your site URL, your WordPress username, and the application password you just generated.
- Save and test the connection to confirm n8n can reach your site.
One Pitfall Worth Knowing
If your connection test fails, check your permalink settings first. WordPress needs permalinks set to something other than "Plain" for the REST API to work correctly. Go to Settings, then Permalinks, and choose any structure except the default plain option. Save that change and try your connection again.
Building Your First WordPress Automation Workflow in n8n
A great starter workflow publishes a WordPress post automatically when a new row appears in Google Sheets- it sounds ambitious but it only takes a handful of nodes to make it work.
Every workflow in n8n starts with a trigger node, which is the event that kicks everything off. In this case, you want the Google Sheets trigger, set to watch for new rows in a chosen spreadsheet. Once that fires, the data from that row flows downstream into whatever nodes you connect next.
From there, you add a WordPress node and pick your action. n8n gives you 12 WordPress actions to choose from, and three of them manage most content update tasks well.
| Action | What It Does | Best For |
|---|---|---|
| Create Post | Publishes a new post to your site | Auto-publishing content from a spreadsheet or form |
| Update Post | Edits an existing post by ID | Refreshing prices, dates, or evergreen content |
| Get User | Pulls user data from WordPress | Assigning authors dynamically in multi-user workflows |
To build this workflow, follow these steps in order.
First, open your n8n canvas and add a Google Sheets trigger node. Second, connect it to your spreadsheet and set the polling interval. Third, add a WordPress node and choose the Create Post action. Fourth, map your spreadsheet columns to the WordPress fields like title, content, and status. Fifth, save the workflow but don't activate it yet.
That last point matters more than it seems. A test execution lets you see what data passes between nodes and catch any mapping mistakes before they touch your live site. The test button in n8n runs the workflow once with data without activating the trigger permanently.
When the test output looks right, check that your post status field is set to what you actually want. A value of "draft" keeps the post hidden until you review it manually. But "publish" makes it live immediately. "Draft" is the better starting point for staying in control while you get familiar with how the workflow behaves. If you want a more hands-off approach, you can auto-publish blog posts directly from Google Docs to WordPress as an alternative path worth exploring.
Once you are confident in the results, flip the workflow to active and let it run on its own. For teams managing multiple contributors, automatically assigning authors to posts is a natural next step to layer into your setup. You can also explore the WordPress REST API post status fields to understand all available values beyond draft and publish.
Chaining Multiple Apps Into One WordPress Content Pipeline
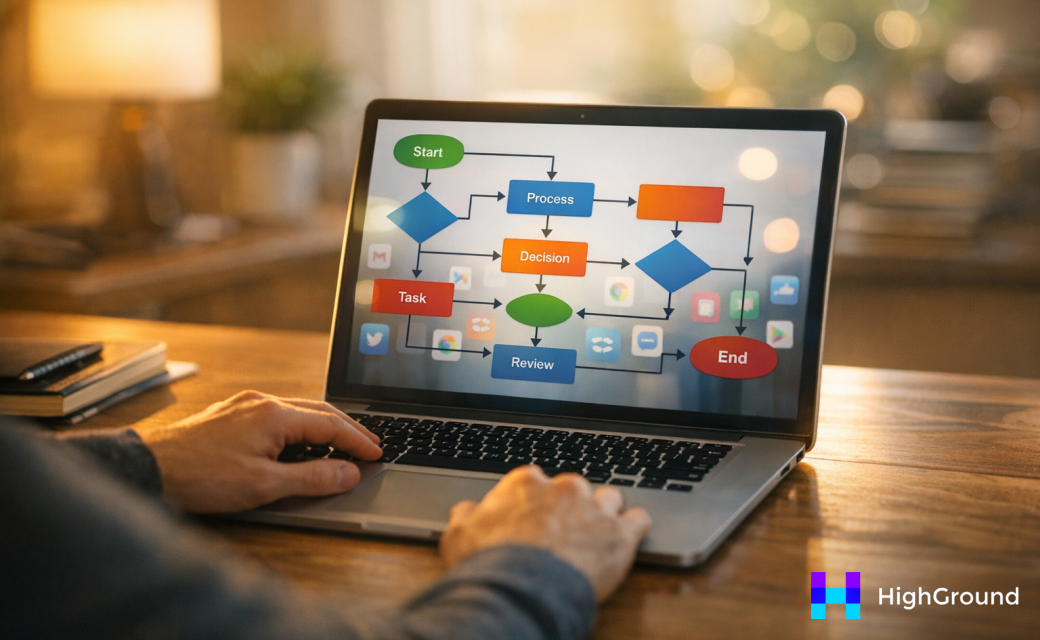
Once your basic workflow runs cleanly, you can start connecting more apps to it. A common setup is to pull content from an RSS feed, path it through a Slack message for human approval, and then push the approved post straight to WordPress - this pipeline does the heavy lifting without anyone needing to babysit the process.
Before you build anything in n8n, take five minutes to sketch the pipeline on paper. Write down every step, every app, and every choice point. Ask yourself what would break if this ran at 2am with no one watching. That question tends to surface problems before they become ones.
IF nodes are your best bet here. You can use them to check if a post already exists in WordPress before creating a new one, which stops duplicates from slipping through. You can also filter by keyword or category so only relevant content moves forward in the workflow.
Rate limits are worth planning around. Some APIs only let you make a set number of requests per minute, and n8n will hit errors if your workflow moves too fast. A Wait node between steps gives external services time to breathe and keeps your workflow from failing mid-run.
Error handling is just as important as the happy path. Use n8n's built-in error workflow feature to send yourself a notification when something breaks instead of finding out hours later that posts never went live. An easy email or Slack alert goes a long way - a fully automated WordPress content approval workflow can help you manage this end to end.
| Input App | Trigger | Action | WordPress Result |
|---|---|---|---|
| RSS Feed | New feed item | Slack approval message | Draft post created on approval |
| Google Sheets | New row added | Format and filter content | Scheduled post published |
| Airtable | Status field changes | Pull record data | Existing post updated |
| OpenAI | Webhook trigger | Generate post content | New draft sent for review |
| Slack | Reaction added to message | Extract and clean text | Post published immediately |
Each combination in the table above solves a different content problem, and the logic in n8n is the same across them.
Keep each node focused on one job. Long, tangled nodes that try to do everything at once are hard to fix when something goes wrong.
Scheduling and Triggering Automated WordPress Updates
Once your pipeline is built, the next choice is what actually sets it in motion. n8n gives you three main trigger types: cron, webhook, and manual, and each one fits a different situation, and picking the wrong one gives you real problems.
A cron trigger runs your workflow on a fixed schedule, like every hour or every night at midnight. It's the right choice for bulk updates that don't need to happen in real time, like syncing product descriptions from a supplier feed or switching a batch of posts from draft to published at a set time. You can also use it to run category-wide updates on a schedule so your content stays steady without anyone having to start it manually.
Webhook triggers are different. They fire the second something happens in another app, so they work best when timing is tied to an outside event instead of a clock. If a new row appears in your Google Sheet, a webhook can push that change to WordPress immediately. That instant response is helpful for product launches or breaking news updates where waiting until the next scheduled run is not enough.
Manual triggers are there for testing and one-off jobs. They let you run a workflow on demand without committing to a schedule, which is helpful when you want to check that everything is working before you let it run automatically.
Getting the timing wrong is a real risk. If you set a cron trigger to fire too frequently on a large site, you can flood your server with API requests and create publishing conflicts where multiple updates try to write to the same post at the same time. A workflow that publishes posts should almost never run more than once per minute.
The safest way to set up any trigger is to test it on a staging site first. Run it a few times and watch what actually gets updated and when - this catches timing problems before they reach your live site.
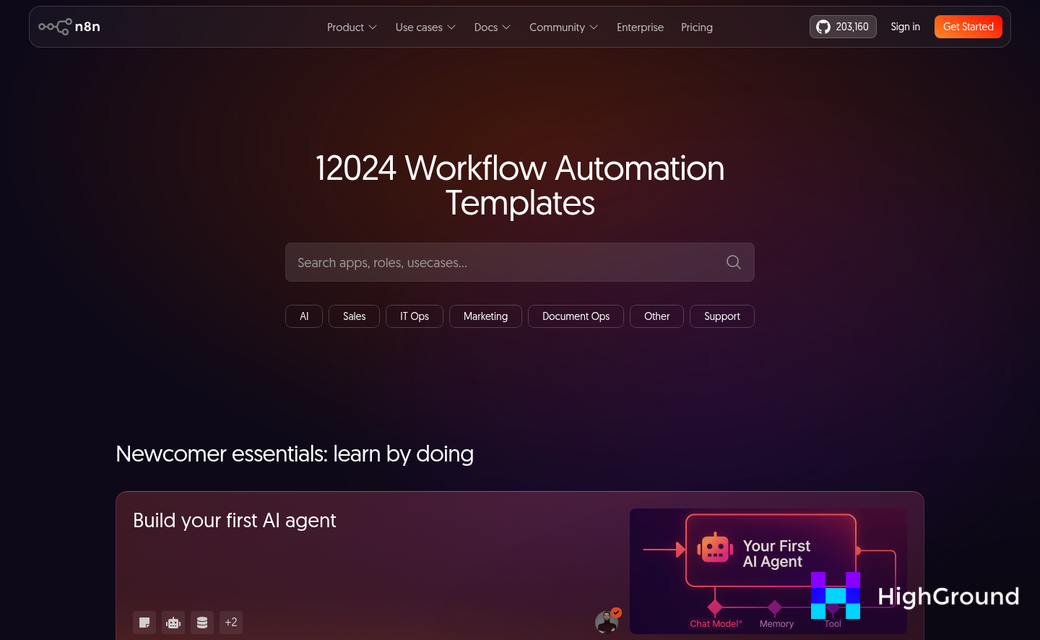
If you're not sure where to start, n8n's template library has pre-built workflows that already include sensible trigger configurations for common WordPress tasks. A template gives you scheduling logic that has already been thought through, so you only need to adjust it to fit your setup.
Keep Your WordPress Workflows Running Smoothly Long-Term
If you ever get stuck or want to skip the blank-canvas feeling, n8n's community forum and template library are helpful places to spend twenty minutes. Other teams have almost certainly solved a version of your problem already, and a working template is a much friendlier starting point than an empty workflow editor.
Most teams start with one small, unglamorous workflow - maybe auto-updating a category of posts or pushing a draft live on a schedule - and it's the best strategy. Small wins build confidence, and confidence leads to the next workflow. Before long, tasks that once ate up a chunk of every week are happening on their own, and your time is going somewhere more interesting.
FAQs
What is n8n and how does it work with WordPress?
n8n is an open-source workflow automation tool that connects WordPress with over 400 apps using triggers and actions. It communicates with WordPress via the REST API, allowing you to automate tasks like creating posts, updating pages, and managing users without touching the dashboard.
Is n8n free to use for WordPress automation?
n8n can be self-hosted for free, though server costs apply. A managed cloud plan starts at around $20/month. Both options connect to WordPress the same way, so your choice depends on technical comfort and budget.
How do I connect n8n to my WordPress site?
Generate an application password in your WordPress profile under Users, then add it as a credential in n8n along with your site URL and username. Ensure your permalink settings are not set to "Plain," or the REST API connection will fail.
What trigger types does n8n support for WordPress workflows?
n8n supports cron triggers for scheduled updates, webhook triggers that fire instantly when an external event occurs, and manual triggers for testing. Choosing the wrong trigger type can cause server overload or missed publishing windows.
How do I prevent duplicate posts in automated WordPress workflows?
Use n8n's IF nodes to check whether a post already exists in WordPress before creating a new one. This filters content before it reaches the WordPress node and prevents duplicates from being published automatically.