


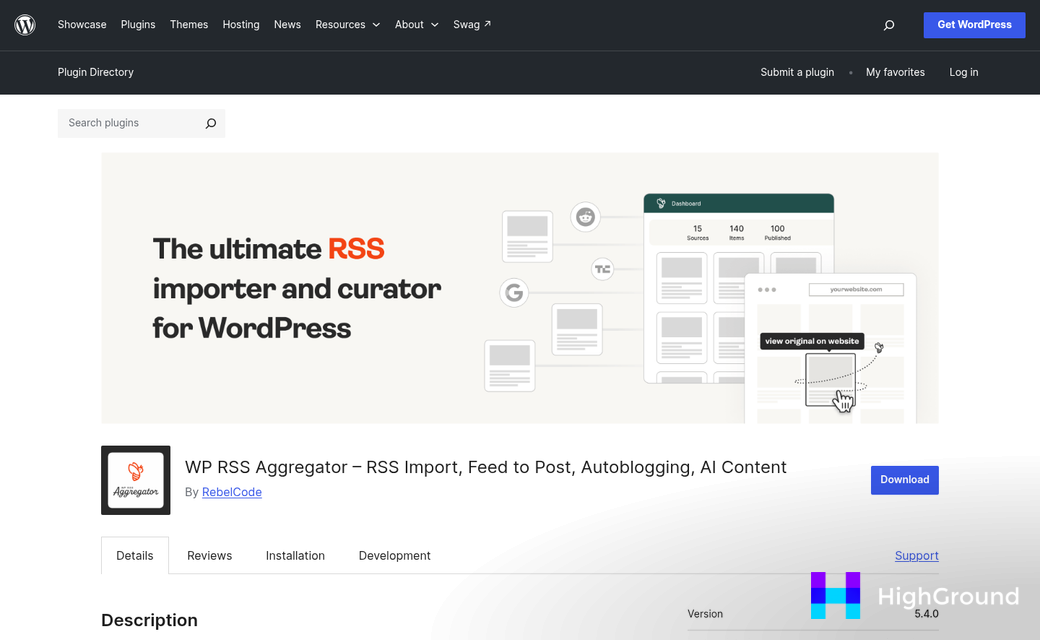
Make (formerly Integromat) offers a clean solution. With a few connected modules, you can build a workflow that watches an RSS feed, pulls in new entries automatically, and creates drafted or published WordPress posts without you lifting a finger.
This guide will talk about creating that exact automation, from configuring your RSS module to mapping feed data into your WordPress fields correctly. No coding required, and you don't need prior experience with Make to follow along.
Short Summary
To auto-generate WordPress posts from an RSS feed using Make (formerly Integromat), create a scenario with the RSS module set to watch new feed items. Connect it to the WordPress module and select "Create a Post" as the action. Map the RSS feed fields (title, content, link, publication date) to the corresponding WordPress post fields. Set your desired post status (draft or published), configure the polling interval, and activate the scenario. Make will then automatically create new WordPress posts whenever new items appear in your RSS feed.
What RSS Feeds Actually Contain (And Why That Matters for Automation)
An RSS feed is a structured file that a website updates automatically whenever new content goes live - it follows a steady format, which is what makes it helpful as a starting point for automation.
Most RSS feeds hold between 5 and 10 items at any given time, and each item in the feed means a handful of standard fields - but the three you'll use most are the post title, the URL, and a short excerpt that usually comes from the first paragraph of the original post.
That structure is predictable. Every item has the same fields in the same places, so a tool like Make can read the feed and know where to find each part of data without any guessing on your part.

That predictability matters when building an automation. You're basically telling Make to take a value from a field and put it somewhere in your WordPress post. The title might become your post heading. The URL might get embedded as a source link. The excerpt might seed the body content. None of that works cleanly if the data is inconsistent, and RSS feeds are anything but inconsistent.
It's also worth knowing that RSS feeds are publicly accessible in most cases. You don't need API keys or permissions to read one - just the feed URL, which you can usually find by adding /feed to the end of a WordPress site's homepage URL. Once you have that data flowing in, you can take things further by automatically updating old blog posts with fresh content pulled from the feed.
| RSS Field | What It Contains | How You'll Use It |
|---|---|---|
| Title | The article headline | Post title in WordPress |
| Link | The URL of the original article | Source link or reference |
| Description | A short excerpt or summary | Body content or intro text |
Once you can see RSS as a clean, repeating data source, the logic behind the automation starts to feel easy.
Setting Up Your Make Account and Creating a New Scenario
If you don't have a Make account, head to make.com and sign up for free. The free plan gives you enough room to build and test this automation without spending anything.
Once you're logged in, you'll land on your dashboard. From here, click the green "Create a new scenario" button in the top right corner - that's where the build starts.
A scenario is a chain of steps that runs on its own. You set it up once, tell it when to run, and Make handles the rest. Think of it as a workflow with a beginning, a middle, and an end - each step hands off information to the next.
You'll get a blank canvas and a single large icon in the middle of the screen; it's where your first module goes. Don't click it yet though - it helps to know the layout first.
Along the bottom of the screen you'll see a scheduling bar - that's where you control how your scenario runs. Make lets you set it to every 15 minutes, every hour, once a day, or a custom interval. For a news or blog feed, once or twice a day is usually plenty. If you want more control over timing, it's worth reading up on auto queue and schedule posts with AI in WordPress.
To set your schedule, click the clock icon at the bottom left. A small panel opens with a dropdown for frequency. Pick what works for your use case and hit OK to save it.
One thing worth learning about here: the schedule you choose can affect how quickly new posts appear on your WordPress site after they go live in the RSS feed. A 15-minute schedule means near-real-time publishing. But a longer schedule can add a delay. The right choice depends on what you need. You can also look at mass scheduling and republishing WordPress posts for more approaches to managing post timing.
Once your schedule is set, you're ready to start adding modules. The scenario is saved automatically as you build, so you won't lose progress if you close the tab. Every step you add from this point brings the automation one step closer to running on its own.
Connecting the RSS Feed Module as Your Trigger
With your scenario open, click the large icon in the center of the canvas to add your first module. Search for "RSS" and choose the option labeled "Watch RSS Feed Items." This is the trigger - the module Make checks first every time your scenario runs.
You'll see a field asking for the feed URL. Paste the full URL of the RSS feed you want to pull from, then hit okay to let Make fetch the feed structure - it will automatically detect the available fields from that feed so you can map them later.
There's one setting here you don't want to skip: the maximum number of results - this controls how many new feed items Make will process in a single run. Set this to between 5 and 10. If you leave it too high and a feed publishes a burst of content at once, you can run into rate limits with your WordPress site or burn through your Make operations faster than expected.
Once the module is configured, Make will ask you to choose where to start - either from the beginning of the feed or from new items only. For this setup, watch for new items only. You don't want to accidentally publish a flood of old posts on day one. If you're managing content across many sites, it's also worth exploring WP Umbrella alternatives for multi-site content work to keep things organized.
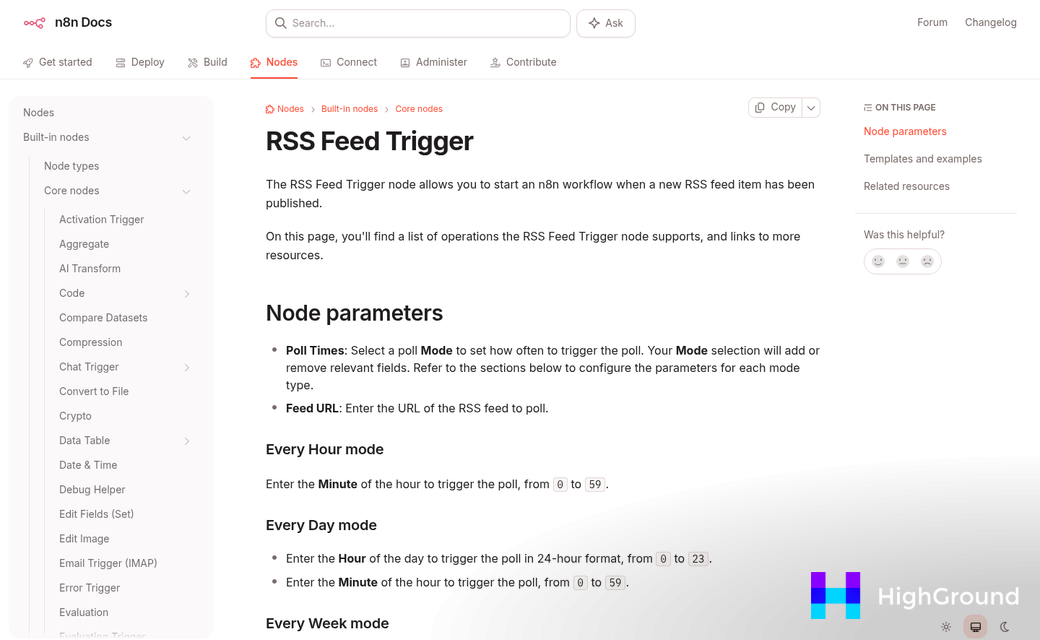
Here's a quick look at what Make pulls from a standard RSS feed and what each field means for your WordPress post.
| RSS Field | What It Contains | Maps To in WordPress |
|---|---|---|
| Title | The headline of the article | Post title |
| Summary | A short description or excerpt | Post excerpt or body |
| URL | The link to the original article | Custom field or source link |
| Published Date | When the item was posted | Post date |
| Author | The name of the original writer | post author or custom field |
Not every RSS feed includes these fields, so it's worth previewing the data Make fetches before you move on to the next module.
Adding the WordPress Module to Create Posts Automatically
With your RSS trigger in place, the next step is to add a WordPress module as the action - this is what creates the post. Click the icon after your RSS module to add a new step, then search for "WordPress" and choose the Create a Post action.
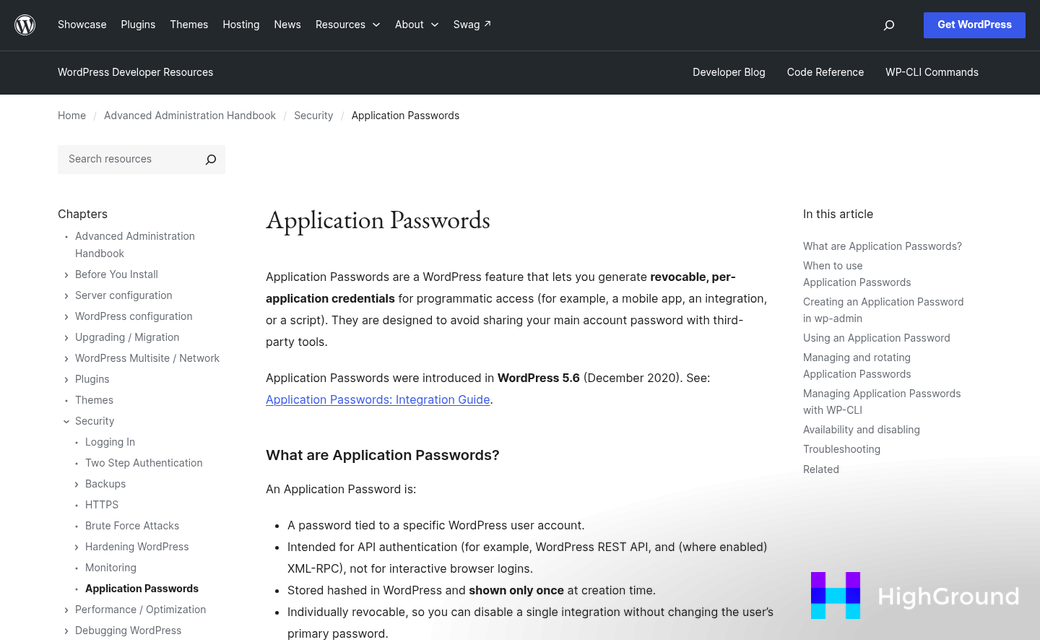
Make will ask you to connect your WordPress site. You are going to need your site URL, your WordPress username and an application password. Application passwords are different from your login password - you can generate one inside WordPress under Users, then your profile, then the Application Passwords section. Copy it into Make and you should get a successful connection on the first try.
Mapping RSS Fields to WordPress Post Fields
Once your site is connected, you'll see a form with the standard WordPress post fields where you map the data coming from your RSS feed into the right places. Click into each field and use the variable picker to pull in the correct RSS output.
| RSS Feed Field | WordPress Post Field |
|---|---|
| Title | Post Title |
| URL | Post Content (or a custom field for source link) |
| Summary / Description | Post Content or Excerpt |
| Publication Date | Post Date |
The most common mistake here is leaving the Post Title field empty or mapping the wrong variable to it. A post without a title will still publish, but it will show up in your dashboard as untitled and cause problems later.
Pay close attention to the Post Status field too. Setting it to Draft is a safe starting point - it lets you review each post before it goes live. If you set it to Published immediately, every new RSS item will go straight to your site without any review. If you want more control over what gets published and when, look into connecting ChatGPT to WordPress using Zapier or Make to add an AI filtering step before anything goes live.
Run a test by clicking Run Once in Make. Check your WordPress dashboard to confirm the post came through with the right title, content and status before you move on.
Scheduling, Filters, and Controlling What Gets Published
Once your scenario is connected and mapped, you choose how and when it runs. Make lets you set a schedule - every 15 minutes, hourly, or on a custom interval. The right choice can depend on how active the RSS feed is and how fresh you need the content to be on your site.
A news feed might justify running every 15 minutes. A weekly industry blog probably only needs to run once a day. Running too frequently on a slow feed just wastes operations, so it's worth thinking about what actually makes sense for your use case.
Using Filters to Control What Gets Through
This is where things get helpful. Make lets you add filter conditions between modules, so you can stop RSS items from becoming posts at all. Not every item in a feed belongs on your site, and filters let you make that call automatically.
To add a filter, click the small circle between your RSS module and your WordPress module on the scenario canvas. From there you can set conditions based on the data fields pulled from the feed. The filter only lets items through when those conditions are met.
Here are some helpful ways to use filters in this scenario.
Filter by keyword in the title so only relevant articles get published. Filter by category or tag if the feed includes that data. Filter by author if you only want content from one contributor. Use a "does not contain" condition to block items with words you don't want on your site. You can also combine multiple conditions if you need tighter control.
Filters are especially helpful when you're pulling from a large feed that covers more than one topic. Instead of publishing everything and cleaning it up manually later, you set the rules once and let Make manage it going forward.
You can also use Make's built-in tools to change data before it hits WordPress - things like stripping HTML from descriptions or formatting dates differently - it's worth a look at what's available in the mapping panel before you finalize everything.
Testing Your Scenario Before Going Live
Before you activate your scenario, run it manually at least once. In Make, you can do this by clicking the "Run once" button at the bottom of the scenario editor- this triggers a single execution so you can watch each module light up and confirm the data flows the way you intended.
After the run completes, click on any module bubble to see what data passed through it. Make will show you the full output at each step- like what the RSS feed returned and what was sent to WordPress. If something looks wrong, this is where you'll find it.
Check your WordPress dashboard after the test run and look for any new posts in the drafts folder. That brings up an important point about how you should set things up before testing.
Use Draft Status First
Set your WordPress module to create posts as drafts- not published posts- this gives you a chance to review each generated post manually before anything goes live. If your mapping is off or the content looks garbled, you catch it on one or two posts instead of across dozens.

Publishing directly on the first run is a danger. If the scenario runs on a feed with 50 items and your settings are wrong, you could flood your site with malformed posts in seconds. Drafts give you a buffer.
Once you are happy with how the drafts look, you can switch the post status to "publish" in the WordPress module settings. At that point, future runs will create live posts automatically.
What to Check in the Draft
Open one of the draft posts in WordPress and confirm the title pulled in correctly from the feed. Check that the body content is formatted the way you want. Verify that any category or tag mapping worked as expected. Also verify the post date and author fields if those matter to you.
A quick manual review of two or three drafts tells you far more than the Make logs alone. Once everything looks good, you are ready to focus on keeping the automation healthy over the long run.
Keeping Your Automation Running Smoothly Over Time
Getting your scenario live is a win. But it's not quite the finish line. A few small habits will keep things running without you having to step in and fix problems later.
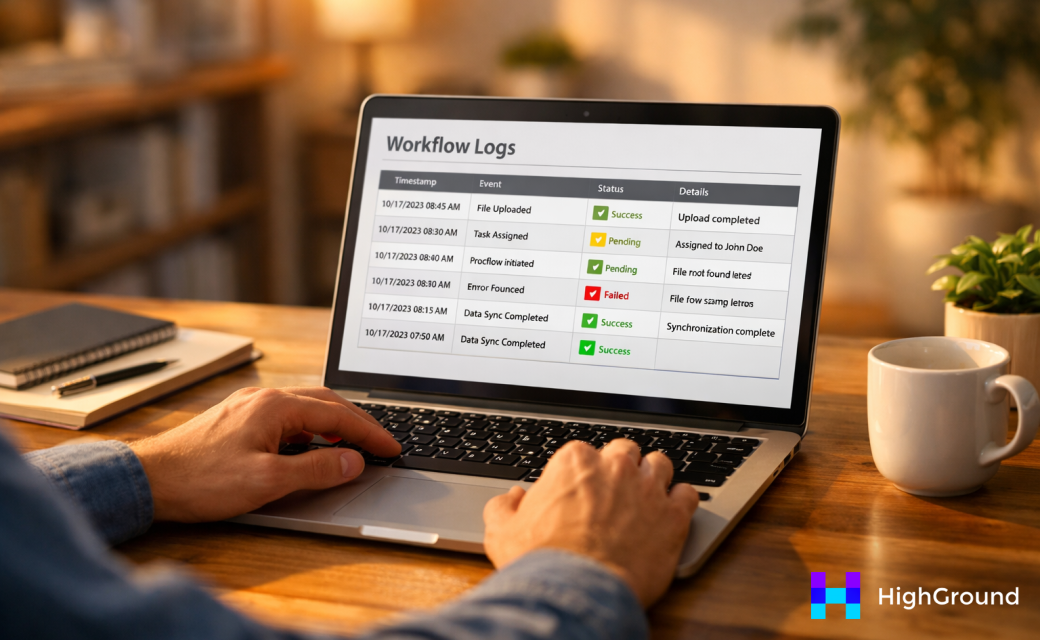
Make a log of every run your scenario completes - it's worth checking these logs every week or two, and that's also the case in the first month. Failed runs will show up there, and the error messages are usually descriptive enough to point you to the problem.
One thing that can quietly break your scenario is a change in the RSS feed's structure. Feed providers sometimes rename elements or reorganize the data without any announcement. If your scenario stops pulling in titles or content the way it used to, the feed structure is the first place to look. Compare the live feed output in Make against the field mappings you set up during the build.
Feed URLs can also change outright. If the site you're pulling from migrates to a new platform or restructures its URLs, your scenario will start failing at the first step. Keeping a note of the original feed URL somewhere accessible means you can find the disconnect fast and swap in the new one.
Duplicate posts are another thing to watch for. Make's deduplication filter handles most of this. But it relies on a steady identifier from the feed - usually the item's URL or GUID. If a feed republishes older content with new timestamps, some of the posts might slip through. Check your WordPress posts list occasionally to catch any repeats before they accumulate.
It also helps to revisit the decisions you made during the build from time to time. The filters you set, the post status you chose, and the categories you mapped all made sense at the start. As your site grows or your content strategy changes, some of the options might need a small update to stay relevant.
Automation works best when it has a little human attention behind it. A quick check every now and then is all it takes to keep the whole thing on track. If you're managing a larger operation, it may also be worth looking at how to bulk update internal links across your site as your content grows.
Your Automated WordPress Feed Is Ready - Now Let It Work
Now that the foundation is in place, don't stop there. Experiment with Make's built-in filters to control which feed items actually make it through - by keyword, category, author, or date. Adjust the scheduling interval to match how your source feed updates. You can even add a router to send different types of content to different WordPress categories automatically. The scenario you built is a starting point - not a finished product.
The best part about automation is the compounding effect. Once a scenario is running reliably, see what else on your WordPress site eats up repetitive time. Natural next steps that follow the same Make logic you already know include automatically sharing new posts to social media, sending a digest email when a new post goes live, and pulling in product data from an external source.
So open Make and build it. Reading about automation saves zero hours - running it does.
FAQs
What is Make and how does it help with WordPress?
Make (formerly Integromat) is a no-code automation tool that connects RSS feeds to WordPress. It watches a feed for new content and automatically creates drafted or published posts without any manual effort or coding required.
What RSS feed fields can be mapped to WordPress?
You can map the RSS title to your post title, the summary or description to post content or excerpt, the URL as a source link, the publication date to post date, and the author to a post author or custom field.
Should I publish posts immediately or save as drafts?
Start with draft status. This lets you review posts before they go live and catch any mapping errors early. Once you're confident everything looks correct, you can switch the WordPress module to publish posts automatically.
How do filters work in a Make RSS scenario?
Filters sit between your RSS and WordPress modules, blocking items that don't meet your conditions. You can filter by keyword, category, author, or use "does not contain" rules to prevent unwanted content from becoming posts.
How often should I schedule my Make scenario to run?
It depends on your feed's activity. A live news feed may warrant every 15 minutes, while a weekly blog only needs once daily. Running too frequently on a slow feed wastes your Make operations allowance unnecessarily.