


That's exactly what becomes possible when you connect ChatGPT to WordPress using the Model Context Protocol (MCP). MCP is an open standard that lets AI models like ChatGPT communicate with external tools and places, and it gives them the ability to read, create, and manage content on your behalf.
This guide will walk you through the full setup process, from installing the right plugin to configuring ChatGPT so it can talk to your site. You don't need to be a developer to follow along - if you're comfortable in the WordPress dashboard, you're ready to get started.
Short Summary
To connect ChatGPT to your WordPress site via MCP (Model Context Protocol), install a WordPress MCP plugin or set up an MCP server that exposes your site's data. Configure the MCP endpoint with your WordPress credentials, then connect it to ChatGPT or Claude using a compatible MCP client. This allows the AI to read, create, and manage WordPress content directly. Tools like the WordPress MCP plugin or custom REST API integrations enable seamless communication between your site and AI models supporting the MCP standard.
What MCP Actually Does Between ChatGPT and WordPress
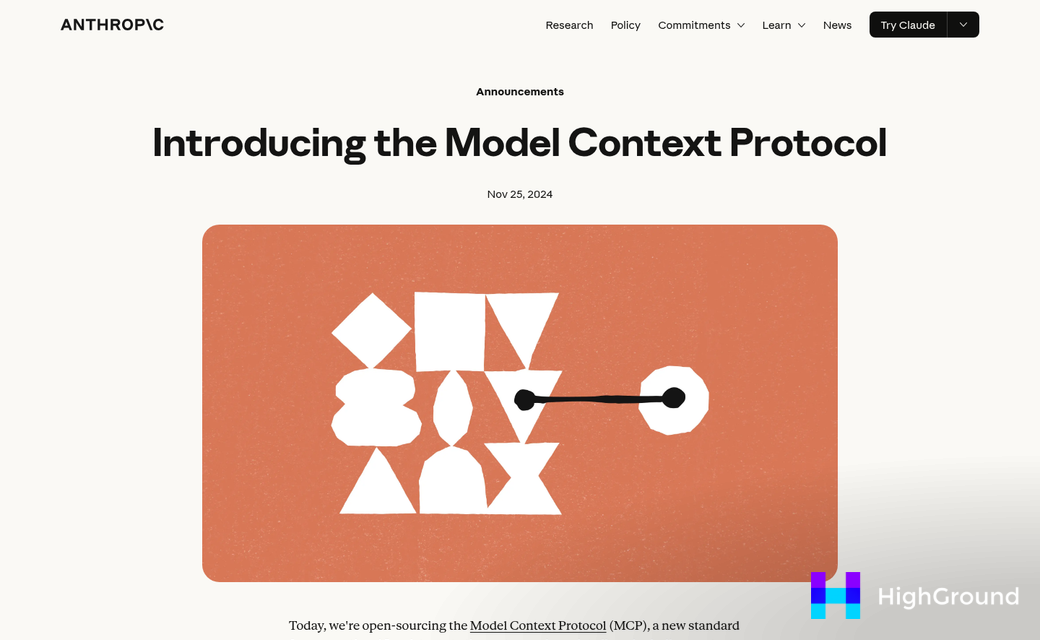
The Model Context Protocol is an open standard that lets an AI model talk directly to an external system and do things inside it. Instead of copying and pasting content between tools, ChatGPT gets a live connection to your WordPress site and can read, write, and manage content through it in real time.
When you set this up, your WordPress site can become an MCP server. That means it exposes a set of tools that ChatGPT can call on demand - things like creating a post, uploading media, switching themes, or managing users.
Kind of like giving ChatGPT a remote control for your site, and each button on that remote is a named tool, and ChatGPT can press those buttons based on what you ask for in plain language.
The number of tools available can depend on the plugin you use to run the MCP server. AI Engine exposes 30+ tools and AIWU exposes 40+. Both cover the core WordPress actions you would use day to day.
| Plugin | Tools Exposed | Example Tools |
|---|---|---|
| AI Engine | 30+ | wp_create_post, wp_update_post, wp_upload_media, wp_get_posts |
| AIWU | 40+ | wp_create_post, theme operations, user management, plugin controls |
A common plugin runs on a schedule or responds to a button click inside your dashboard. MCP lets ChatGPT respond to you directly, in context, with full access to your site's tools - all from a conversation window.
You are not limited to pre-built automations. You can ask ChatGPT to draft and publish a post, pull a list of your recent drafts, or upload an image to your media library - and it works with the whole action, not just the text.
That two-way connection is what separates this setup from anything a basic chatbot or content generation plugin can do on its own.
Everything You Need Before You Start the Setup
Before you touch any settings, it helps to know what you'll have to have in place. Missing one of these will stop the setup from working, so take a few minutes to check each one.
Your WordPress site needs to run version 5.0 or higher, and it should have a valid, active SSL certificate. ChatGPT communicates over protected connections, so an HTTP site without SSL will not work at all. Most hosting providers include SSL for free, but it's worth confirming yours is active before you start.
On the ChatGPT side, you need a Pro subscription at $20 per month - not optional. The MCP connection runs through Developer Mode, which is only available on the Pro plan and above. If you are on the free tier, you are going to need to upgrade first.
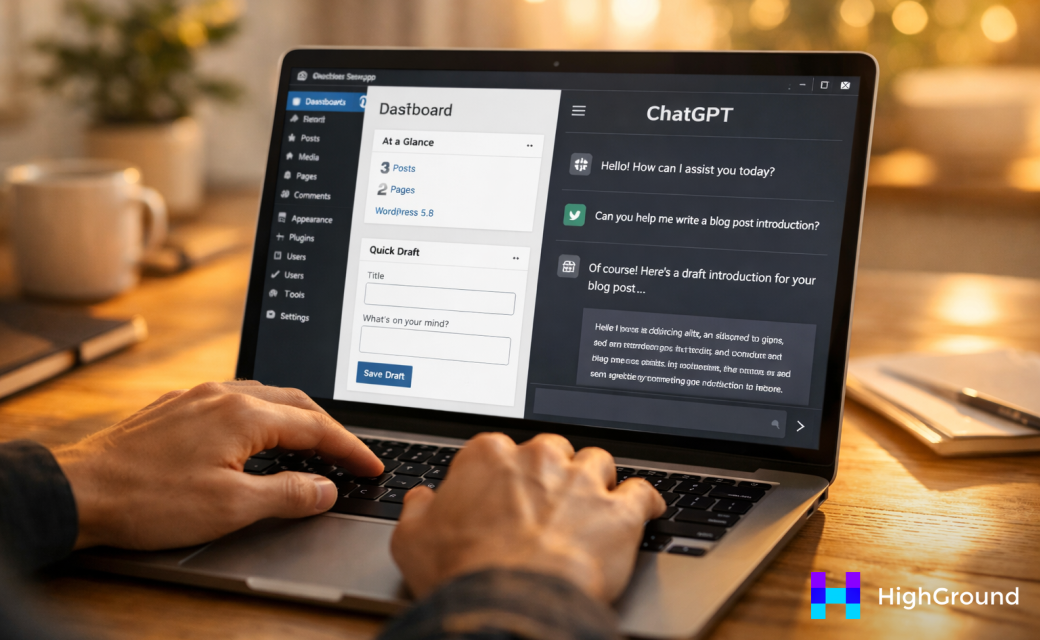
You also need a WordPress plugin to run the MCP server on your site. Two plugins that support this are AIWU and AI Engine. Either one is able to manage the connection, so pick whichever fits your existing setup. If you want more context on adding ChatGPT to WordPress before diving in, that's a good place to start.
| Requirement | Details |
|---|---|
| WordPress Version | 5.0 or higher |
| SSL Certificate | Valid and active |
| ChatGPT Plan | Pro ($20/month) |
| Plugin | AIWU or AI Engine |
Use that table as a quick checklist before you move to the next section.
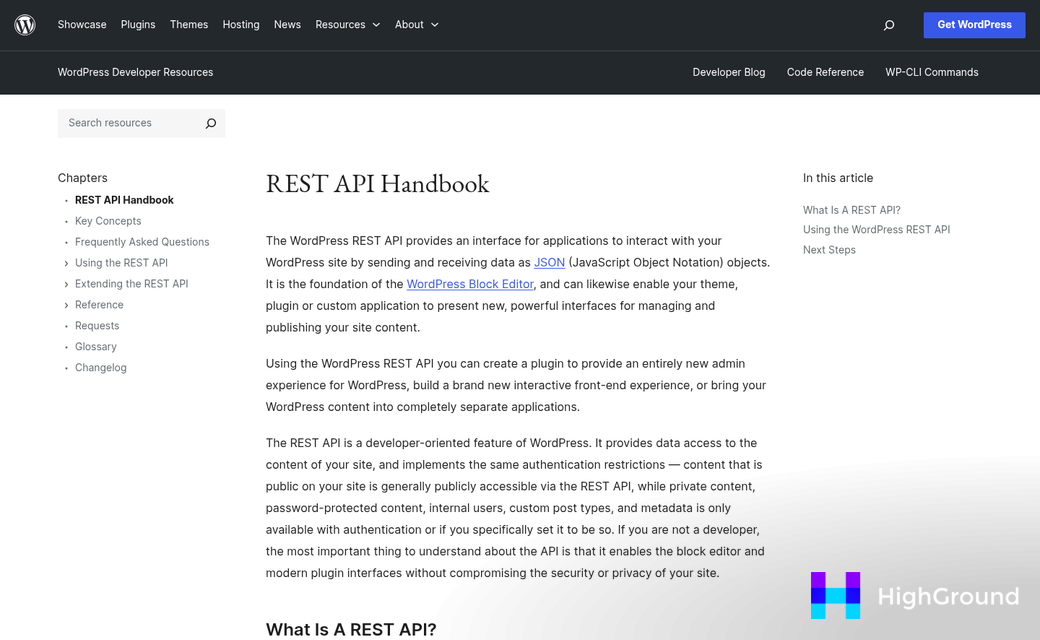
One thing worth flagging now is the No-Auth URL strategy. Some older tutorials talk about connecting via the /wp-json/mcp/v1/sse endpoint without authentication - it's deprecated and scheduled for removal as of July 2026. Starting down that path means you'll have to redo the setup later, so it's better to use authenticated access from the beginning. It's also worth reviewing which WordPress tasks are worth automating while you're rethinking how your site is set up.
The authenticated path is more stable and safer for your site. It does not leave an open endpoint exposed to anyone who finds the URL. The next section walks you through that process step by step.
Step-by-Step: Connecting ChatGPT to WordPress Through MCP
With everything in place, you can move straight into the setup, and each step below builds on the last, so work through them in order instead of jumping ahead.
-
Install the MCP plugin on your WordPress site. Go to your WordPress dashboard, navigate to Plugins, and search for your chosen MCP-compatible plugin. Install and activate it as you would any other plugin.
-
Generate your MCP endpoint and access token. Once the plugin is active, open its settings page. You will see an option to generate an endpoint URL and a 32-character access token. Click to generate and leave this tab open - you are going to need these values in the next step.
-
Copy the token. This is the step where most connections fail. The token has to be identical in WordPress and ChatGPT - same characters, same case, no extra spaces. Copy it directly instead of typing it out by hand.
Open ChatGPT and go into Developer Mode. In ChatGPT, navigate to Settings and enable Developer Mode if it's not already on - this unlocks the external integrations panel where you can register a new MCP server.
Enter your endpoint URL and token in ChatGPT. Paste the endpoint URL from your WordPress plugin into the Server URL field. Then paste the access token into the token field. Do not retype either value - paste only.
Save and test the connection. Hit Save and look for a confirmation message or a green status indicator. ChatGPT will attempt to contact your WordPress site through the endpoint to verify the connection is live.
If the confirmation comes through, the handshake between ChatGPT and your site is working. You can do a quick test by asking ChatGPT to pull a list of your recent posts to confirm it has access. From there, you can explore options like automatically managing internal and external links with AI or setting up AI-generated key takeaways across your content.
One thing worth mentioning: some plugins generate a new token each time you hit the generate button. If you ever regenerate the token on the WordPress side, you are going to need to update it in ChatGPT too or the connection will drop immediately. It's also a good habit to keep your older posts updated once the integration is live and working smoothly. The MCP specification outlines exactly how these token-based connections are expected to behave across platforms.
Fixing the Errors Most People Hit During Setup
If something isn't working, you almost certainly didn't do anything wrong. Most failures come down to a token mismatch or a small copy-paste slip, and they're easy to fix once you know where to look.
The most common culprit is the secret token - it has to be exactly 32 characters and it has to match between your WordPress plugin settings and your MCP configuration file. One extra space, one missing character, and the connection will fail silently. Go back and compare values character by character if you're stuck.
SSL errors are another common one. Your WordPress site should have a valid HTTPS certificate for MCP to connect. If your site still runs on HTTP, or if your SSL certificate has lapsed, the handshake will fail before anything else has a chance to work. Most hosting providers let you renew or activate SSL from the dashboard in just a few clicks.

The No-Auth URL format was deprecated in newer versions of the plugin. If you grabbed a URL from an older tutorial and it doesn't include your token in the endpoint, that's likely why it's not working. Use the authenticated endpoint format from the latest plugin settings page.
Plugin conflicts are less common but they do happen. Security plugins that block REST API access are the usual suspect. If you've ruled out everything else, try disabling other plugins one at a time to find the one that's interfering. If you're using an SEO plugin alongside this setup, it's worth checking those settings too.
The table below maps the most common errors to what's going on and how to fix them.
| Error or Symptom | Likely Cause | How to Fix It |
|---|---|---|
| Authentication failed | Token mismatch or wrong character count | Re-copy the token from the plugin settings and paste it fresh into your config file |
| SSL or certificate error | Site running on HTTP or expired certificate | Enable or renew HTTPS through your hosting provider |
| 404 on the endpoint URL | Using a deprecated No-Auth URL format | Switch to the authenticated endpoint from the current plugin settings |
| Connection times out | REST API blocked by a security plugin | Temporarily disable security plugins to identify the conflict |
| Commands not executing | MCP config file not saved correctly | Recheck the file path and confirm the JSON syntax is valid |
What You Can Build Now That ChatGPT Runs Your WordPress
The question is what you should automate first. It could be spinning up draft posts from a quick idea, or batch-uploading images without touching the media library manually. Whatever the answer, that's your sign to start small and experiment freely.
Here are two things you can do to build momentum:
- Test a simple command - open ChatGPT and try something like wp_create_post with a title and basic content to see the connection working in real time.
- Explore your full tool list - head into your MCP plugin dashboard and browse every available command. You may find capabilities you hadn't planned to use but won't want to live without.
The setup is behind you. Everything from here is about discovering how much easier your WordPress workflow can get.
FAQs
What is MCP and how does it connect to WordPress?
Model Context Protocol (MCP) is an open standard that lets ChatGPT communicate directly with your WordPress site, enabling it to read, create, and manage content in real time through a live two-way connection.
Do I need a paid ChatGPT plan for MCP?
Yes. MCP requires a ChatGPT Pro subscription at $20 per month, as Developer Mode - needed for the MCP connection - is only available on Pro and above.
Which WordPress plugins support MCP server setup?
Two compatible options are AI Engine, which exposes 30+ tools, and AIWU, which exposes 40+ tools. Both cover core WordPress actions like creating posts, managing users, and uploading media.
Why does my MCP connection keep failing?
The most common cause is a token mismatch. Your access token must be exactly 32 characters and identical in both WordPress and ChatGPT. SSL issues or security plugins blocking the REST API can also cause failures.
Is the No-Auth URL endpoint still safe to use?
No. The No-Auth URL format is deprecated and scheduled for removal in July 2026. Use the authenticated endpoint from your current plugin settings to avoid having to redo the setup later.