To configure the Auto Image Verifier, go to HighGround → Settings, then click the Images tab and scroll to the bottom.
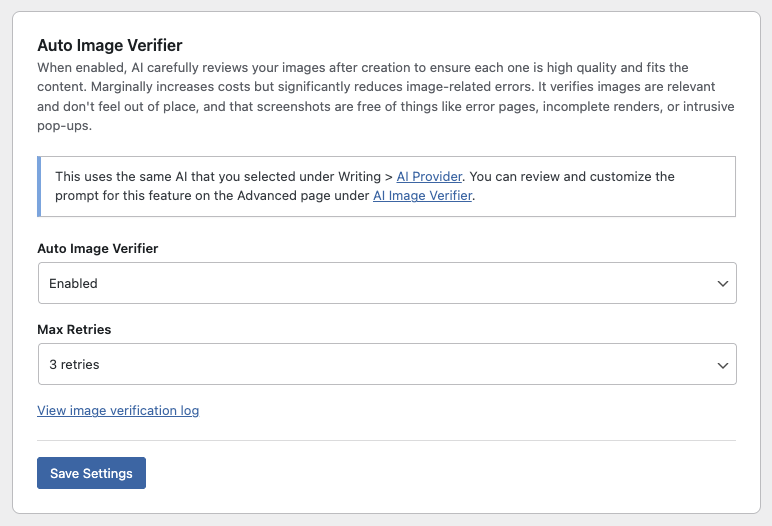
The Auto Image Verifier is an optional quality check that runs on every image HighGround generates for your posts. When enabled, your chosen AI reviews each image right after it’s created to make sure it looks good and makes sense for the content it’s paired with.
What It Checks
The verifier evaluates images differently depending on the type:
- Screenshots - Makes sure they didn’t accidentally capture an error page, a blank screen, an incomplete render, a cookie pop-up, or something similarly unusable. Also confirms the screenshot is relevant to the content.
- Stock photos - Confirms the photo is actually relevant to the section it’s in and doesn’t feel random, jarring, or out of place.
- AI-generated images - Looks for obvious AI artifacts like extra fingers, distorted text, or other visual glitches that would look unprofessional. Also checks that the image is relevant and high quality.
What Happens When an Image Fails
If the AI decides an image isn’t up to standard, HighGround will automatically try once more, picking a new image source and generating a fresh replacement. If the second attempt passes, it gets used. If not, the section simply won’t have an image rather than using a bad one.
Max Retries
This setting controls how many times HighGround will retry a failed image before giving up. Options range from 1 retry to 5 retries. A higher number gives HighGround more chances to find a good image, but each retry adds an additional AI call and image generation, so it will take longer and cost slightly more per section. For most sites, 1 or 2 retries is plenty. If you’re using AI-generated images and seeing frequent failures, bumping this up to 3 or higher can help.
How to Enable It
Go to Settings → Images in HighGround. Scroll down to Auto Image Verifier and switch the dropdown from “Disabled” to “Enabled.” Click Save Settings.
Once enabled, you’ll see a blue info box with links to customize the verification prompt and choose your AI provider.
Customizing the Verification Prompt
The verifier uses a default prompt that works well for most sites, but you can tweak it to match your standards. Click the “AI Image Verifier” link in the blue info box, or go to Settings → Advanced and scroll to “AI Image Verifier” under Pipeline Prompts.
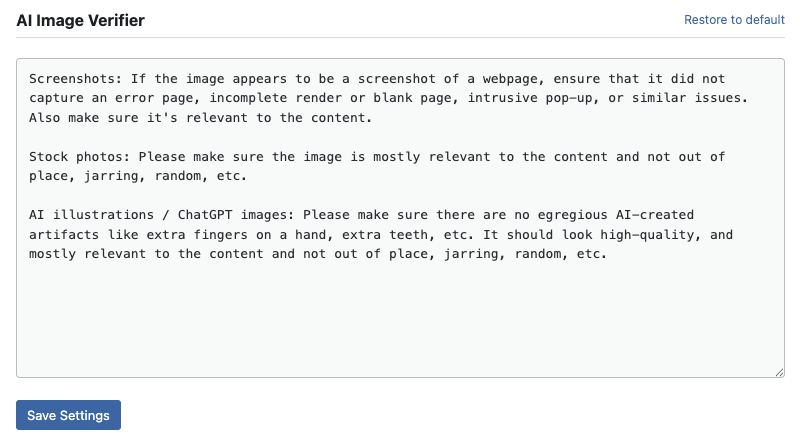
The default prompt instructs the AI to check screenshots for error pages and pop-ups, confirm stock photos are relevant and not out of place, and catch AI illustration artifacts like extra fingers or distorted features. You can make it stricter about relevance, more lenient about stock photos, or adjust it however you’d like.
Viewing the Verification Log
When the feature is enabled, a “View image verification log” link appears below the dropdown. Click it to expand a table showing each post that’s been through the verifier, along with how many images were approved and how many were denied.
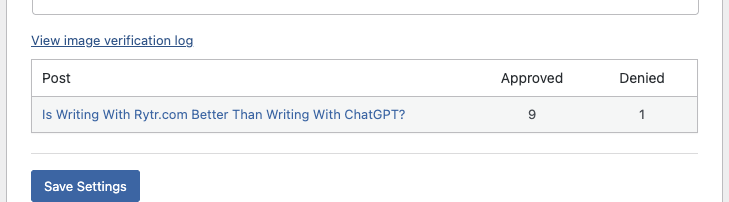
This is a handy way to see how often the verifier is catching bad images.
Cost Impact
The verifier adds one extra AI call per image, using the same provider you’ve selected under Writing → AI Provider. Since it’s only checking a small, resized version of each image and expecting a one-word response, the cost per check is minimal, typically a fraction of a cent.
Saving
Click Save Settings to apply your changes. The verifier takes effect on the next post HighGround creates. Existing posts are not affected.Share=